
Just Enough Terminal

Welcome back to Design With Code! Today we’ll learn just enough about the Terminal to unlock a fantastic world of tools that make the whole designing with code thing possible. I know, Terminal can look pretty intimidating, and it can be a bit of a brutalist user experience, but I promise, the juice is worth the squeeze.
So, let’s get going. On your Mac, open up Finder and click on Applications, then Utilities, and there you’ll find Terminal!

Open it up, and you’ll be presented with a new shell that looks something like this, but it’ll have your computer’s information instead of mine:
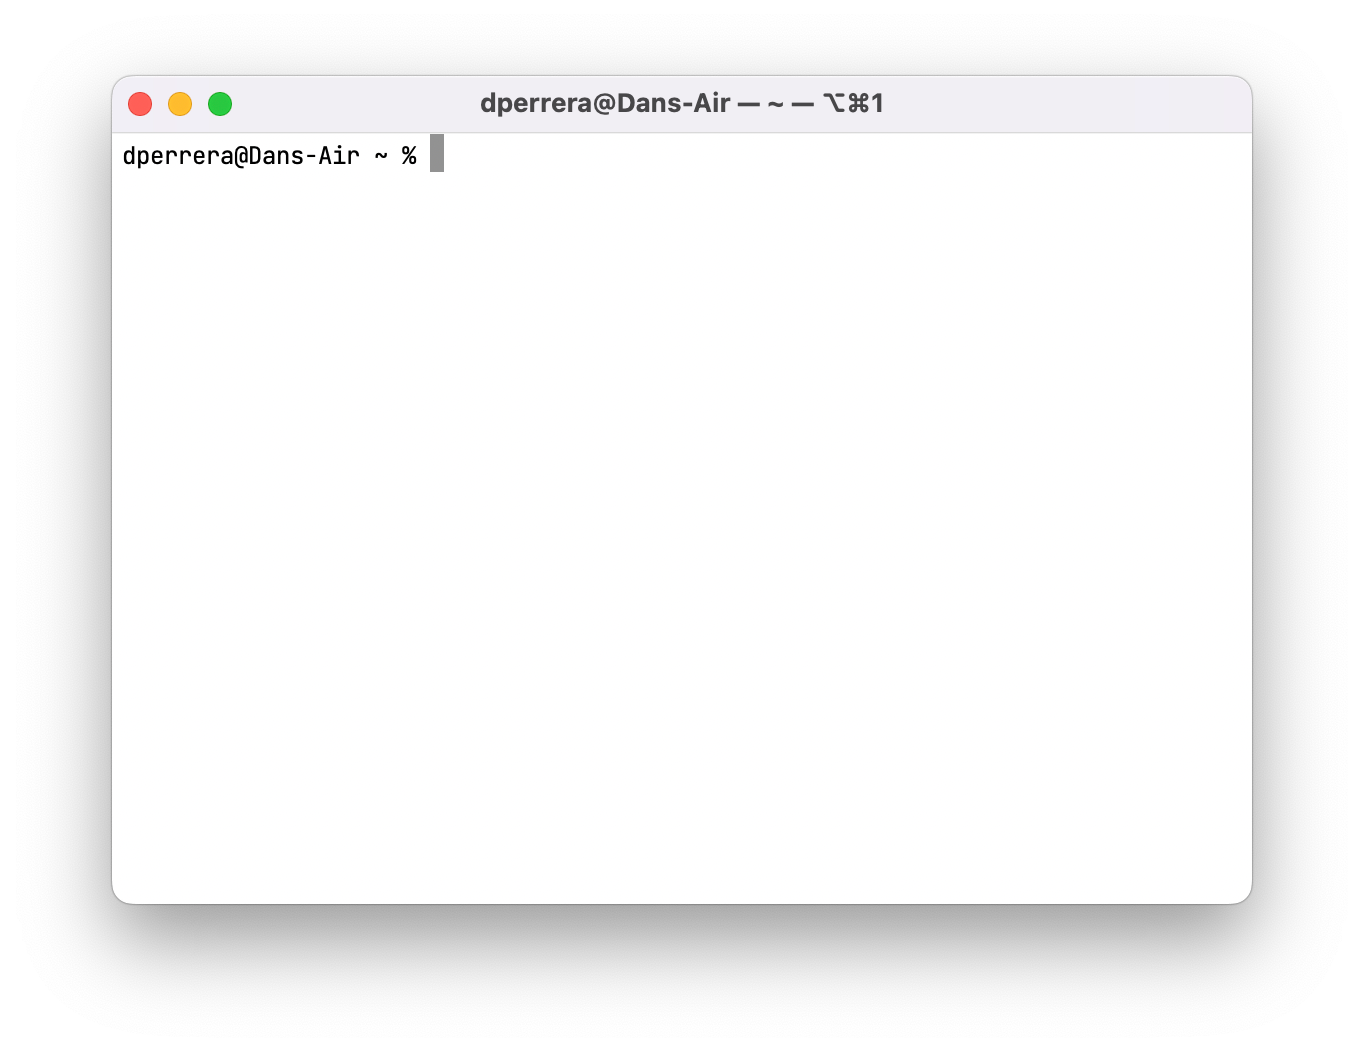
What’s a shell? It’s just a text interface to talk to your computer. You can see that it tells you your username @ your computer name, then the little squiggle (~) represents your home directory.
The terminal is filled with tons of tiny text-based programs, but we’ll only need to know a few for our purposes. You invoke these programs with text commands. They’re usually very abbreviated because we hate to type despite our love of computers.
Let’s write our first command into the terminal. Type ls into the box and hit return. You should get something that looks like this:
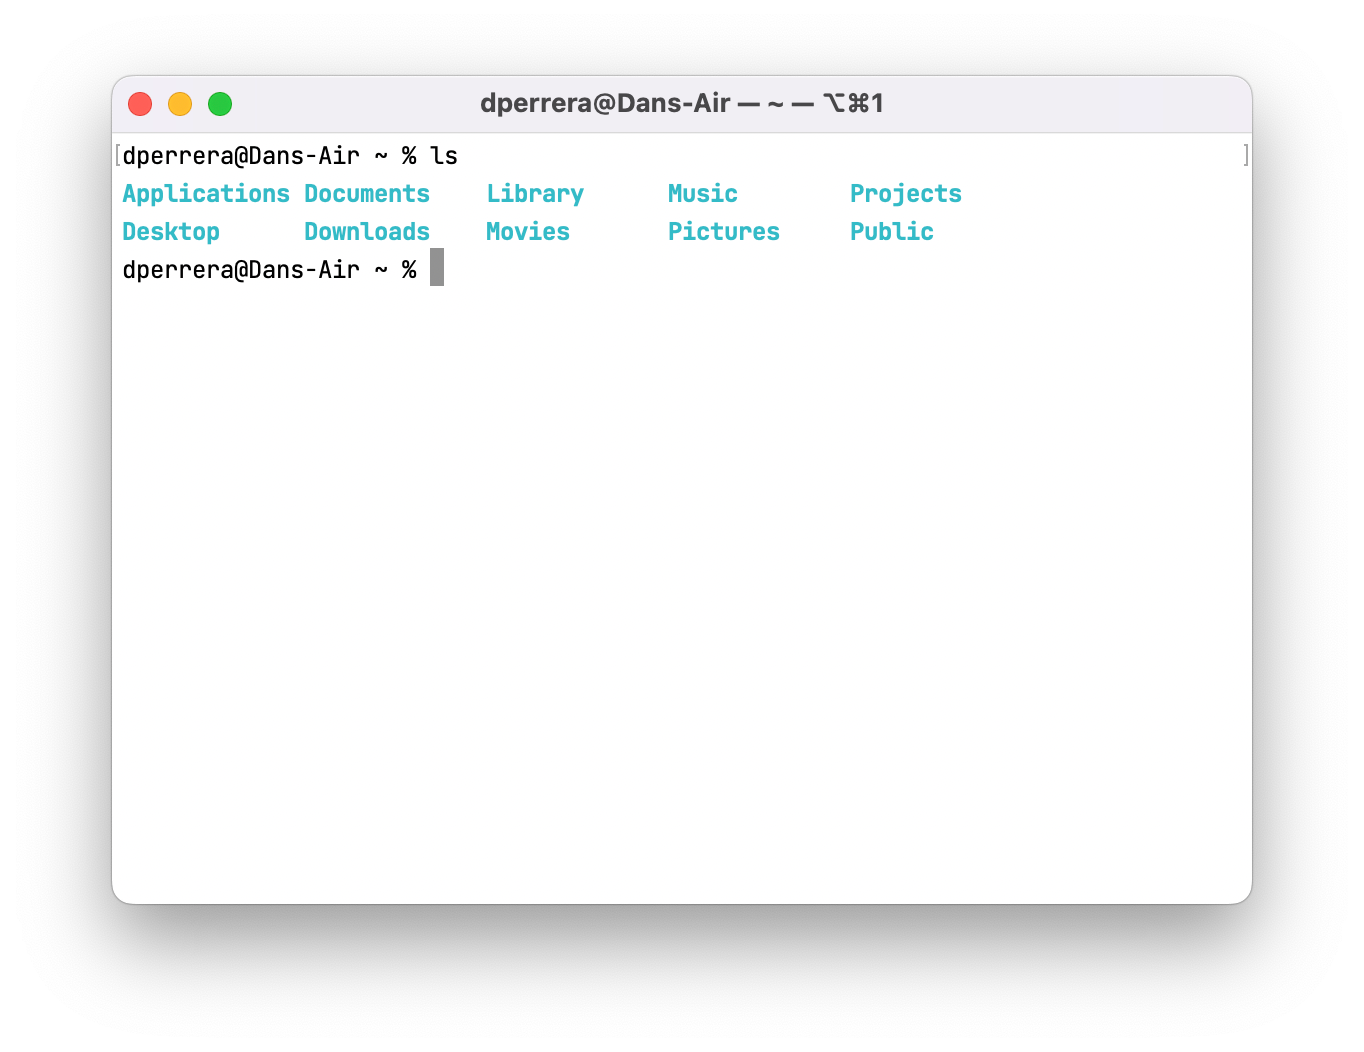
Well, those folders look familiar, don’t they? You just used the list command! It simply lists the files and folders in the directory you’re in. Your list is probably different than mine, which is fine.
I prefer to have a directory called Projects, where I do all my code stuff. Let’s make one together:
Into the terminal type mkdir Projects and hit return (mkdir is short for “make directory”). You should see something that looks like this:

No news is good news! If something went wrong, you’d get an error, but if everything goes to plan, the Terminal tells you nothing – thanks, buddy! When you rerun ls, you should see Projects in your list.
The next thing we want to do is to go into the Projects directory. To do that, we’ll use the cd command, which stands for “change directory." Type cd Projects and hit enter, and you should see something like this:

So the little squiggle, also known as a tilde, has turned into the word “Projects,” indicating that you’re in the Projects directory. Neat!
The anatomy of a command
The good news is that, like most computer-y things, commands are not arbitrary. They follow a pattern that looks like this:
command [options] [arguments]The square brackets indicate that options and arguments are optional, so they won’t always be there. Let’s revisit a couple of examples:
ls☝️ This is a command, ls, without options or arguments
mkdir Projects☝️This is a command, mkdir, with an argument Projects.
du -hs ~/Desktop☝️This is a command du, short for disk usage, with two arguments -hs, and one argument ~/Desktop. Try it. It’ll tell you how much disk space your Desktop is taking up!

☝️If this is your vibe right now, rest assured that you'll only need to remember a few commands that you'll be able to write down on a sticky note for quick reference.
Improving the experience
I don’t know about you, but I like to have aesthetically pleasing tools. Oh My ZSH is a wonderful open-source project that makes it easy to theme your shell and install helpful shortcuts. Let's install it by copying and pasting this into your Terminal:
sh -c "$(curl -fsSL https://raw.githubusercontent.com/ohmyzsh/ohmyzsh/master/tools/install.sh)"Don’t forget to hit return. After you’ve successfully installed it, hit Command-N to create a new Terminal window, it should look something like this:

Ahh, that’s better. Not only do we have pretty colors, but we also have a visually clean prompt. If you want to add some lovely auto-complete to your Terminal, download Fig for a much less brutalist experience. It looks like this:

Let’s install some tools
The neat thing about the tools we’ll use in the coming weeks is that they’re almost all written in JavaScript using Node, a platform that lets you run JS outside of the browser (like in Terminal).
The easiest way to manage these tools is with Volta. Let's install it and Node, and we’ll call it a week. Crack open your Terminal and run the following commands:
curl https://get.volta.sh | bash☝️This installs Volta on your machine.
volta install node☝️This installs Node, giving your computer magical JavaScript powers.
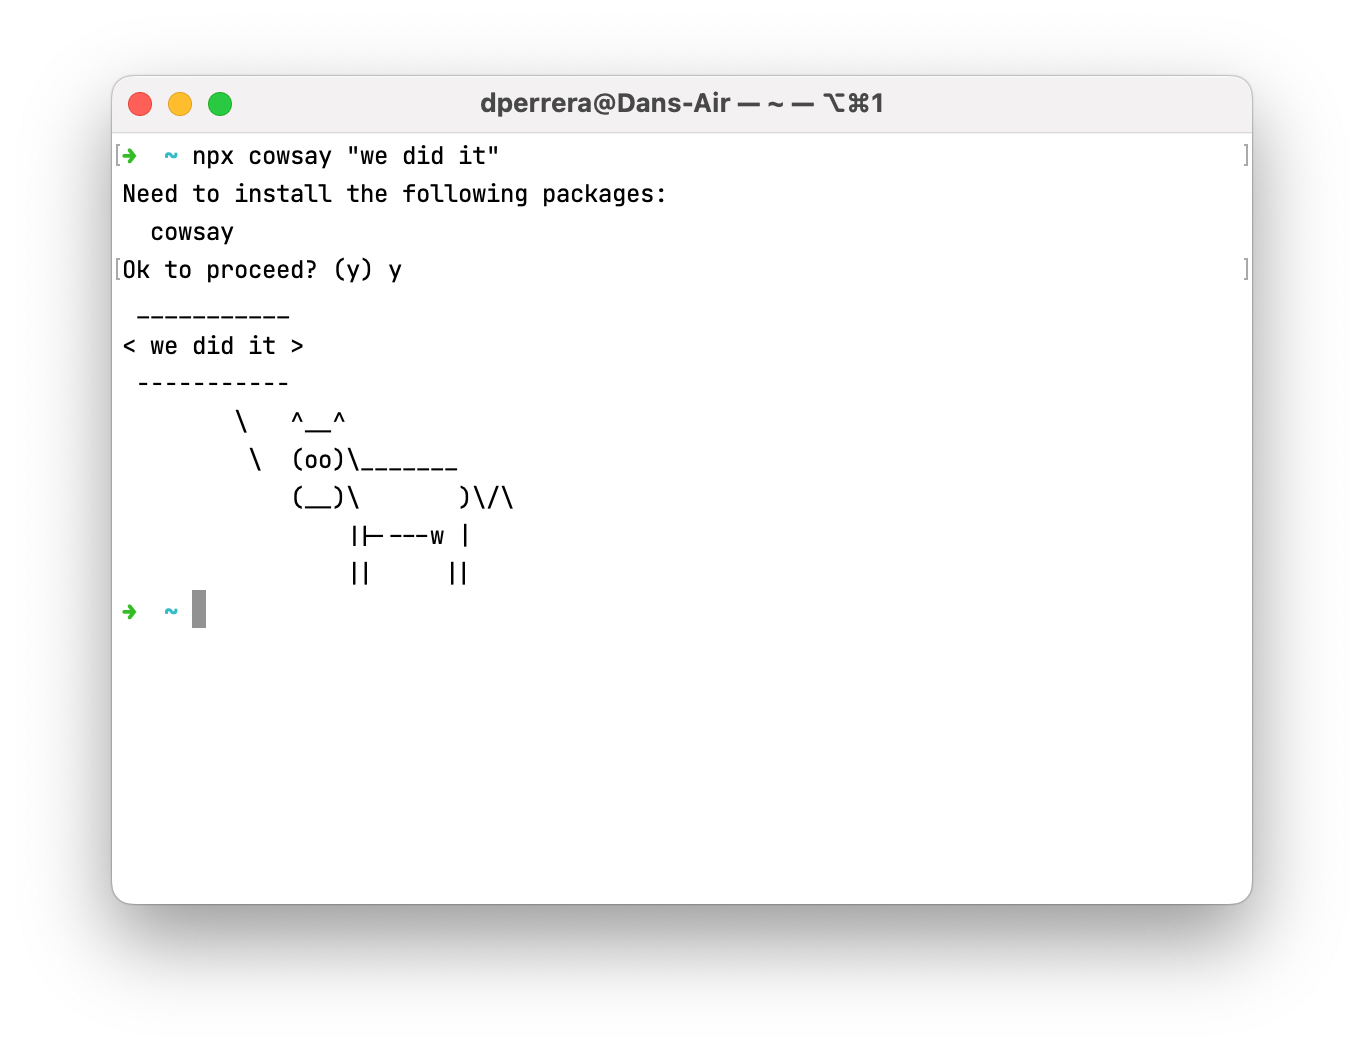
If everything went smoothly, you should be able to run this command:
npx cowsay "we did it"Then type y when prompted to install packages. This should produce a silly ASCII cow saying, “we did it,” using the adorable cowsay package. We’ll get into this magic in future installments.
Great job! We’ll use the Terminal a little bit each week, so you’ll get comfortable with it. If you’re curious and want to learn more, I can recommend Remy Sharp’s Working the Command Line for a bit of a deeper dive.
Join DWC Slack!
I haven't found a space to hang out with like-minded designers, so I made one! If you’re stuck and don’t know where to turn for help or if you're a pro looking for a place where people get you, join the DWC Slack! NGL, it's just me right now, but I'll do my best to get you unstuck and be your internet friend.
