Just Enough Git: Setup
At the end of Just Enough CSS, I invited you to make a webpage; if you did, way to go! I’d love to see it! Pop into the Design With Code Slack and share your stuff. “How?!” you might ask. This thing is trapped on my computer. Today, we’ll start to solve that problem.
What’s a Git?
Great question. Let’s set the context. Over the last few weeks, we’ve learned the Terminal, HTML, and CSS. Heck, we even made an honest-to-goodness website. Now, for the world to see it, we need to put it somewhere. Back in the day, this meant learning all about web servers, and let me tell you, it’s better when this is someone else’s job.
So, instead of learning about servers, we’re going to learn to use Git, a distributed version control system that allows us to save our work, safely experiment with new ideas, collaborate, and ship our websites to services that will deploy our website from our git repository.
This is the most important thing we’re stealing from our developer friends. It unlocks a ton of power with relatively little effort.
Git Q&A
Is Git easy to learn?
No.
Does it, like, make sense?
Not at all.
Do you enjoy using it?
Nope.
Will I get better at it over time?
Maybe!
Isn’t there anything better?
Negative.
Is there an app or something?
VS Code can help a little, but we’ll stick to the terminal.
I’m scared.
That’s not a question, but don’t be. We’ll boil it down to a few commands you can keep close by to get an amazing boost from Git’s ecosystem of services.
The juice is worth the squeeze with this.
Git Ready
Let’s get set up, and we’ll have one major hurdle out of the way – open up Terminal! The best way to get Git is by using Homebrew, a package manager for your Mac that will help smooth out the process of getting developer design tools like this. To install it, copy and paste the following line into Terminal and hit return:
/bin/bash -c "$(curl -fsSL https://raw.githubusercontent.com/Homebrew/install/HEAD/install.sh)"It will probably ask you for your computer password. Give the nice program what it wants. Remember, this is the Terminal, so you’ll get no feedback as you type. When you’re done, hit return. It will also ask you to install something called Xcode Commandline Tools. You’re going to want to say “Y” to that.
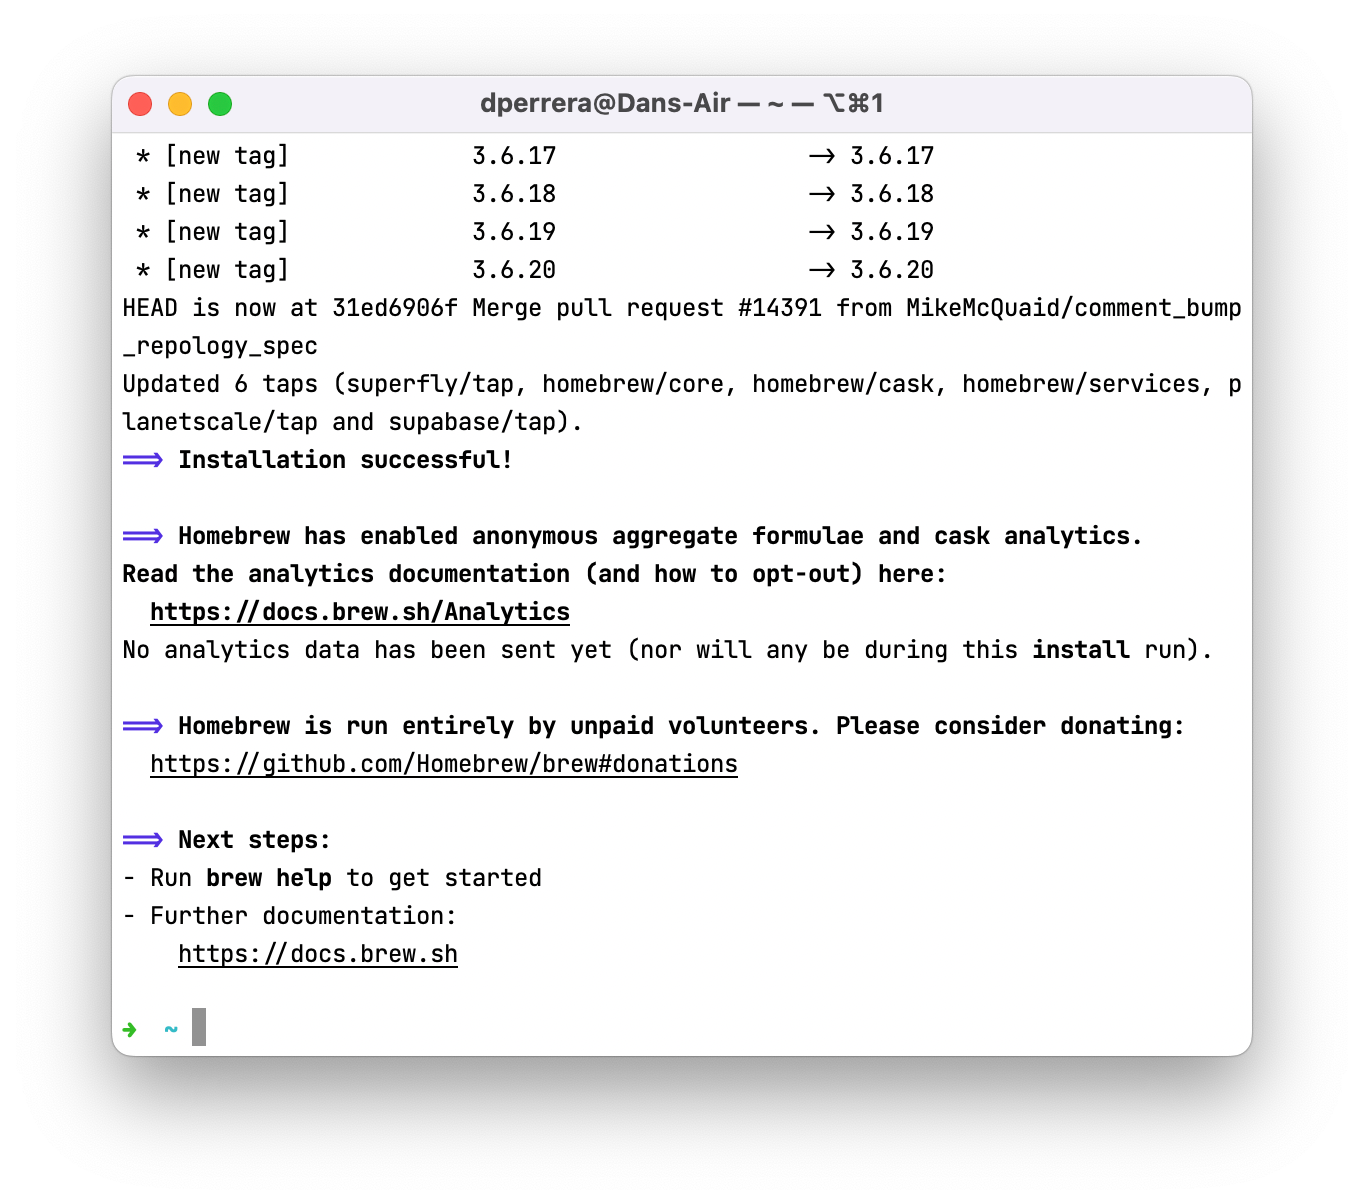
Be patient. This can take a few minutes. If all goes well, your terminal should look something like this:
“Installation successful!” Is the key part there. Now to get Git. Again, in Terminal type in the following and hit return:
brew install gitThere won’t be a success message this time, but there shouldn’t be an error. No news is good news, I guess. To make sure we’re good to go, type the following and hit return:
git -v☝️ This asks for Git’s version. If it’s installed correctly you should see something like this:
If something went wrong, you’ll see something like “command not found.” In that case, locate your nearest nerd, or ask me for help. I can’t promise anything, but I’ll try.
Next, let’s tell Git who you are. Run the following two commands (type them in and hit enter) in Terminal:
git config --global user.name "Your Name Here"☝️ This tells Git your name and gives you credit for your work. Remember to replace “Your Name Here” with your name. If you made a whoopsie and ran the command as is, no problem, just rerun it with your name, uh, there.
git config --global user.email "your.email@example.com"☝️ Same thing but this time with your email. We’re going to sign up for GitHub next. Make sure this email matches the one you use there.
That was quick! You can head over to GitHub. They will kindly host your Git repositories for free. Sign up with the same email as you entered in Terminal.
Once you’re all done, let’s use Homebrew in Terminal again to download the GitHub CLI – or Command Line Interface. It’ll make getting set up much easier:
brew install ghThen we’ll log in to GitHub by running this command:
gh auth loginFollow the prompts, choose “HTTPS” and “Login with a web browser,” and you should have something similar at the end. You’ll notice I was already logged in, so I had to reauthenticate:
Next time we’ll put these tools to work. Be ready with a project (or keep working on what you started last week) so you can enjoy the fruits of your labor. See you next week!


